Almond Milk

by Susan Smith in ,


Almond milk and other milk alternatives are becoming increasingly popular as people turn their backs on dairy in search of a healthier and more sustainable lifestyle. I personally enjoy cow’s milk and other dairy products but this is conditional upon the milk, butter and cheese being organic, grass-fed, full-fat, vegetarian (no animal rennet in my cheese please!) and preferably raw (unpasteurised).

Mass produced dairy products involve the use of antibiotics, bovine growth and milk producing hormones, feeding cows an unnatural diet of soy and other grains that have been grown with fertilisers and pesticides, and continuous milking, even throughout pregnancy. Treating dairy cows as mere ‘milking-machines’ rather than as intelligent animals, forces the animal to overproduce milk and robs mothers of their baby calves - the male calves (considered a waste product of the dairy industry) are shot, and the females are reared only to suffer the same fate as their mother. From a human health perspective, the cheap milk that’s produced is not only nutritionally inferior, it is also contaminated with the hormones, antibiotics and other toxic chemicals that have been forced upon these suffering animals throughout their short lives.

Unfortunately, most industrially-produced alternatives to dairy milk are not as healthful as you might imagine. Firstly, there is never a good reason to drink soy milk. But also shop-bought almond, rice and oat milks are frequently packed with chemicals - flavourings, thickeners, sugar or toxic sugar substitutes like aspartame. Organic coconut milk is a healthy drink but only reliably so if it’s free from BPA (a potential toxic found in the lining of canned goods containing coconut milk, soup, tomatoes etc.) and guar gum (that can cause digestive problems). As far as I’m concerned, if it’s a choice between factory-farming or industrially-processed dairy substitutes, they can all milk off! 

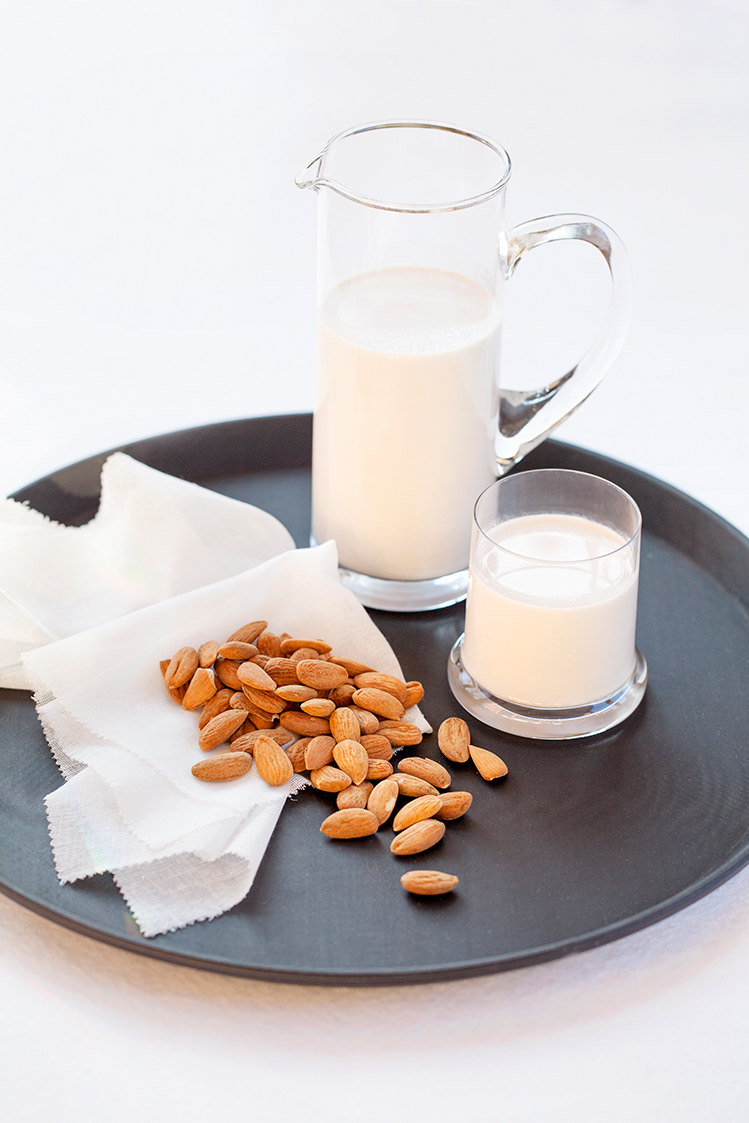
Fortunately, with just two ingredients, a decent blender and a nut milk bag it’s easy to make a healthier, better tasting ‘milk’ at home by simply blitzing nuts with water. 

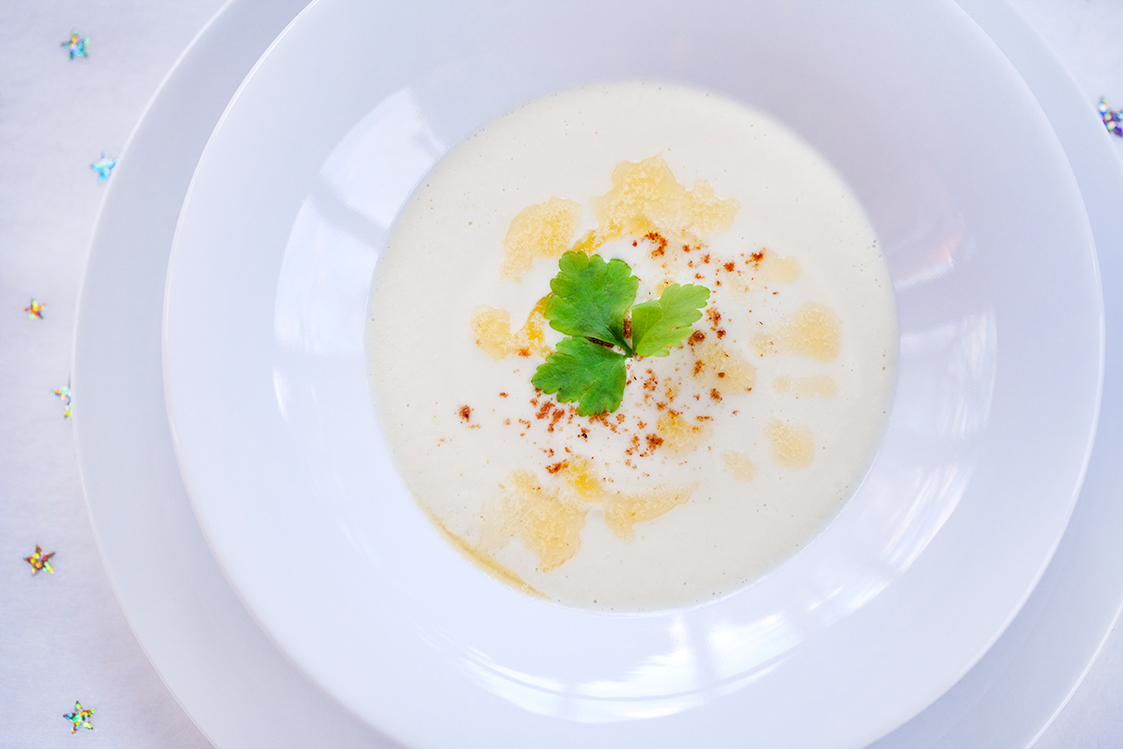
Rich and creamy almond milk can be drunk straight, in tea or coffee, poured over Primal Plate’s Nut & Seed Granola or as a substitute for cow’s milk in recipes for soups, smoothies, shakes, sauces, ice creams etc. It is particularly good when made into our Cream of Cauliflower Soup

A delicious health-food option for everyone, I think nut milks are an absolute boon for vegans, anyone who is lactose intolerant and not least of all, cows! 

Almond Milk (makes 750ml)

Ingredients:

200g raw, organic, unblanched almonds, soaked overnight in cold water

600ml freshly filtered cold water (see note below)


Instructions:

The next day, drain the soaked almonds and rinse well under cold water. Drain again.

Tip the almonds into a blender and pour in 600ml of filtered cold water. Blitz for 3-4 minutes until completely homogenised and smooth.

Open up the nut milk bag and set it inside a medium sized mixing bowl. Pour the mixture from the blender directly into the bag. 

Tighten the tie at the top of the bag to hold everything inside, then using your hands firmly squeeze out all the liquid until you’re left with only dry almond pulp.

Transfer the milk into a lidded glass jar or bottle and chill. 

Store covered in the refrigerator for up to 4 days. Stir or shake well before using. 


Notes

The above recipe is for unsweetened almond milk. To sweeten, add 2 teaspoons maple syrup (or raw organic runny honey) and 1 teaspoon pure vanilla extract or 2 roughly chopped stoneless Medjool dates to the soaked almonds and water before blending. Alternatively, add organic liquid stevia to the finished milk to taste (approx 4-6 drops). 

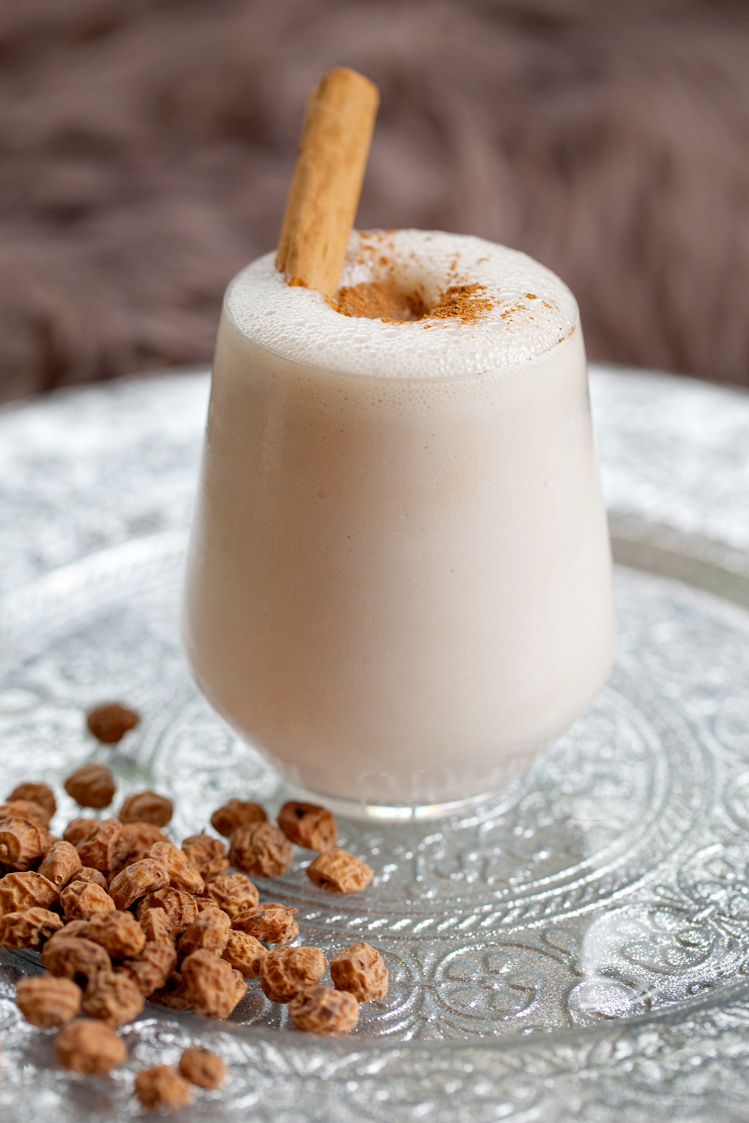
You can make cashew nut, macadamia nut, hazelnut, tiger nut (see our recipe for Horchata) and coconut milk (with organic coconut chips instead of nuts) using the exact same method.

I strongly recommend freshly filtered water for making nut milks. I think this warrants the separate blog post entitled ‘Cool, Clear, Water’ to tell you why and how!


Carbohydrate 2g Protein 2g - per 100ml serving (unsweetened)


Cream of Cauliflower Soup

by Susan Smith in , , ,


Back in the 1960s, for one brief year, I attended catering college. During our daily student briefings, prior to lunch service in the college’s public restaurant, I learned culinary French. For example, today’s recipe for Cream of Cauliflower Soup would have appeared on the restaurant menu as Crème Dubarry. 

It’s funny how half a century later the words ‘Crème Dubarry’ kept haunting me when, due to an oversight, I’d defrosted too much milk. A glut of defrosted milk taking up too much fridge space is not a good thing, so I knew I needed to conjure up a ‘cream of something’ soup and do it quickly. A foray into my second fridge (I have one solely dedicated to storing fresh fruit and vegetables!) revealed an organic cauliflower and a couple of leeks left over from last week’s food shop. Clearly my subconscious was trying to tell me something, because at this point cream of cauliflower soup was a foregone conclusion! And, since I really like the story of how cauliflower soup came to be known as Crème Dubarry, so was today’s blog post.

Madame du Barry was a very beautiful, highly desirable courtesan - a high-class prostitute to the men of the French court - before officially becoming King Louis XV’s last mistress. Later she lost her head during the French Revolution and was guillotined in December 1793. Cauliflower was first introduced to the French court during Louis XV reign and having tasted it boiled in stock, flavoured with nutmeg and served with melted butter, the king liked it so much that he dedicated it to his mistress Mme. du Barry. It is said that if she was ever served anything other than cauliflower soup for a starter, she would send it away and demand that it be replaced. Subsequently, cauliflower soup became known as Crème Madame du Barry and, given its origins, it is a veritable ‘upper-class’ soup, to say the least! 

Silky smooth, milky-sweet, almost nutty flavoured, this elegant soup is destined to become another Primal Pronto classic. For a special occasion it can be garnished with sautéed wild mushrooms, pan-fried king prawns or a poached egg, but for a family meal it really is a lovely, luxurious soup that’s best kept simple with a drizzle of melted butter and a dusting of fresh nutmeg. Since it was this simple pairing of nutmeg and butter with cauliflower that so impressed King Louis XV and popularised it in France, I hope it will impress you too!

To make a meal of this soup you need something more that can hold its own against cauliflower’s potency and nuttiness. I thought Cheddar Muffins might do the trick, and they did. Spread with butter and still warm from the oven, Primal Plate’s cheesy, savoury muffins with their ‘crusty’ tops are a cross between a bread roll (they don’t fall to pieces when you spread cold butter on them) and a muffin. Just the thing if you’re on a low-carb diet and haven’t figured out how to satiate your appetite without a slab of bread with your soup. I’ll be posting the recipe soon!

Cream of Cauliflower Soup (Serves 6)

Ingredients

1 medium/large cauliflower, stalks discarded and florets broken into small pieces (about 450g prepared weight)

2-3 medium leeks, white part only, finely sliced (about 165g prepared weight)

20g butter

2 tbsp olive oil

600ml vegetable stock (made with freshly boiled filtered water and 2½ tsp organic Marigold Vegetable Bouillon powder)

500ml full-fat milk

1 bay leaf - optional

sea salt 

freshly ground white pepper

50g raw cashews

100ml double cream

a little melted butter, freshly grated nutmeg and single parsley leaves. to garnish


Instructions

Put the cauliflower florets and leeks into a large saucepan with the butter and the olive oil. 

Gently heat the contents of the pan, stirring the vegetables around in the melting butter and oil until they are evenly coated and they start to sizzle. 

Cover with a lid and sweat over a low heat for about 10 to 15 minutes, stirring from time to time. At the end of this cooking time, the vegetables should be softened but not browned.

Pour in the stock and bring to the boil, then pour in the milk and return gently to a boil. Turn down the heat, season to taste and simmer, uncovered, for 10 minutes.

Take the pan off the heat and add the cashews. Leave to stand for a further 10 minutes - the hot soup will help soften the raw cashews.

Add the cream (if using) then blend everything together in a food processor or blender. 

Pass the puréed soup through a fine metal sieve into a clean pan. Taste and adjust the seasoning if necessary.

When you’re ready to serve the soup, gently re-heat to just below boiling point, stirring occasionally. 

Ladle the hot soup into individual warmed bowls, then spoon or drizzle a little melted butter on top, dust with grated nutmeg and add a parsley leaf to each bowl. 


Notes

If preparing ahead, cool, cover and chill for up to a day.

Primarily a vegetarian, I am in a constant state of flux trying to achieve a balance between fulfilling my nutritional needs (organic, raw milk and cheese is an excellent source of Omega-3, calcium and protein) and pacifying my sensibility towards animals (the cruelty involved in the dairy industry per se breaks my heart). Gentle souls and vegans rejoice! I made a second batch of Cream Of Cauliflower Soup using just almond milk instead of cow’s milk and cream. And, because the flavour profiles of cauliflower and almonds have a natural affinity, it turns out that the finished soup was equally as creamy and delicious as when it was made with full-fat dairy milk and cream! 

However, this does necessitate making your own almond milk before making the soup. I do not recommend shop-bought almond milk that’s been industrially-processed and loaded with stabilisers, emuslifiers, thickeners and sugar! Meanwhile, for all cow’s milk naysayers, the environmental ravages of siphoning off water in California for their almond crops isn’t boding well for the planet either! I don’t pretend to have all the answers!

If you do eat dairy and are not up for making your own nut milk, please seek out the best quality cow’s milk you can buy. By the best, I mean milk that’s good for you, has been ethically produced and is environmentally-sustainable. At Primal Plate we don’t consider purchasing cheap milk from abused cows an option. The cheap, mass-produced, heat-treated (pasteurised) stuff found on supermarkets shelves is not a nutritious health-giving food, furthermore animal welfare is ignored and the environmental cost is too high. 

I buy my milk online from Gazegill Organics’s happy cows because there is simply is no substitute for clean, full-fat, organic, grass-fed, raw milk. The more expensive price you have to pay for real milk is worth every penny. It contains all it’s vital nutrients, tastes more rich and creamy and behaves differently to the watery substance that passes for milk in supermarket chiller cabinets. For months Sarah complained that her chocolate banana milk shakes (made with organic pasteurised milk purchased from a supermarket) didn’t come out nearly as thick and creamy as my Raw Chocolate Banana Milkshake. When I finally realised what was going on, I substituted some of my supply of raw milk for her pasteurised milk and…Voila! No more thin milkshakes! Remember, pasteurisation not only destroys harmful germs but kills off useful bacteria and a high percentage of vital nutrients too. It also makes the calcium contained in raw milk insoluble, so there’s little point in feeding it to your kids to build strong bones!

Then there’s the horrific reality of mass milk production - one of the most exploitative and cruellest industries in Britain today. Sad cows, housed en masse in concrete confinement feeding centres, fed an unnatural diet of corn, soy and other grains that their bodies aren’t designed to eat. Overfed, over-milked and kept alive on a chemical cocktail of hormones and antibiotics, they are pushed to their limits 24/7. When these poor animals are finally worn-out - literally milked-dry of their profit potential by humans - they are dispatched to the abattoir, where their vastly shortened, miserable lives end violently. I have to ask myself, who in hell wants to drink this stuff?

Meanwhile, the oldest, luckiest, milk-producing cow on Gazegilll Organics farm, where she has access to 16 acres all year round and a diet that's kept as natural as possible, is twenty-one years old already! How fabulous is that?  As consumers, we have a choice. Please do yourself and farm animals a favour. Only support dairy farmers that produce organic, grass-fed milk from cows that are treated with this much love and respect. Thank you.  

Carbohydrate 13g Protein 6g - per serving


Tiger Nut Horchata

by Susan Smith in


In the heat of summer our thoughts are often wont to turn to ice cream. However, with my new found friend the tiger nut, otherwise known as chufa (pronounced Choo-fah), I’ve discovered a serious contender when making my first batch of ice-cold Tiger Nut Horchata. There can simply be nothing more refreshing, or good for you, than downing a glass of this Spanish-style refreshment on a hot day.

Tiger Nut Horchata a.k.a. tiger nut milk is a delicious creamy, milk-like drink that can be best described as ‘liquid gold’ for the health conscious. Tasting so good and loaded with resistant starch, raw tiger nut milk (and whole organic tiger nuts eaten as a snack) are a veritable powerhouse of nutrients (see my last two blog posts for more information). Suffice to say, tiger nuts are an original Paleo superfood with a ratio of carbohydrates, fats and protein so similar to human breast milk it almost beggars belief. Tiger nuts are, after all, just a brown, wrinkly vegetable tuber!

In spite of its name, tiger nut milk is both nut and dairy free, which is an absolute boon for people who are lactose intolerant or who suffer from a nut allergy. It’s also gluten-free so coeliacs needn’t go without either. You can use Tiger Nut Horchata as a milk replacement in tea, coffee, poured over our Nut & Seed Granola for breakfast, and pretty much for everything that calls for normal milk. Naturally sweet, tiger nut milk is non-allergic, safe for diabetics and, since tiger nuts do not contain inflammatory omega-6 fats, Tiger Nut Horchata makes for a much healthier alternative to dairy milk or other nut milks.

Most recipes I’ve found for Tiger Nut Horchata (Horchata de Chufa) are full of refined sugar (up to 200g of sugar per 250g of tiger nuts) but because tiger nuts are intrinsically sweet-tasting, I think it’s debatable whether tiger nut milk actually needs any added sugar at all. In the end I decided to stay true to Spanish tradition (I confess my tiger nut milk did taste a little ‘thin’ without) but I have so moderated the amount and type of sweetener in my Tiger Nut Horchata, it still faithfully follows Primal and Paleo dietary guidelines. My sweeteners of choice in this unique recipe are small amounts of raw organic honey and liquid stevia, which both make the grade (to see why, please read The Definitive Guide To Sugar on Mark’s Daily Apple). The end result is a slightly thickened, rich, creamy, sweet (but not too sweet), seriously satisfying vegetable milk that’s fit for the gods.

Using heathy sweeteners rather than refined sugar, I can well imagine Tiger Nut Horchata justifiably becoming the world’s next healthy-drink ‘craze’. And, with that thought, I drink to your good health. Salud!

Tiger Nut Horchata (makes 1000ml / 1 litre)

Ingredients

250g organic tiger nuts, covered with cold water by 5cm (2”) and left to soak overnight at room temperature

1000ml (1 litre) fresh, filtered water

40ml raw organic liquid honey (I used mild-tasting Raw Health organic acacia flower honey)

2 drops liquid stevia (*see note below for Vegan Tiger Nut Horchata) 

Organic ground cinnamon

Fresh ice cubes

Whole cinnamon stick(s), if liked


Instructions

Take your Nut Milk Bag and set it over a deep bowl. 

Drain the tiger nuts, rinse them well under cold water then drain again and tip into the blender container. Add the filtered water, the honey and 2 drops of liquid stevia, then secure the lid and blend on high speed until completely homogenised and smooth - this will take about 3-4 minutes (depending on your blender). After blending, if the mixture seems a little too hot to handle, allow it to cool down before proceeding to the next step.

Carefully pour the blended tiger nut mixture into the nut milk bag, tighten the tie at the top of the bag to hold everything inside, then using your hands firmly squeeze out all the liquid until you’re left with only dry tiger nut pulp.

Cover the bowl containing the tiger nut milk and cool completely, then transfer to a glass bottle or lidded container and store in the refrigerator for up to 4 days. 

To serve, third-fill a glass with ice (small ice cubes are best), shake or stir your chilled horchata well then pour over the ice and sprinkle a large pinch of organic ground cinnamon on top (**see note below) 

For a final flourish, add a whole cinnamon stick to each glass and use as a swizzle stick to distribute the cinnamon flavour throughout your drink.  

Notes

You’ll need a powerful blender and a strong Nut Milk Bag to ensure this simple Tiger Nut Horchata recipe is a breeze for you to make on a regular basis. You can use 2 or 3 layers of wet cheesecloth or cotton muslin to strain your tiger nut milk through but the Nut Milk Bag sold by Love Tree Products is strong, re-usable and easy to clean. it also produces a silky-smooth milk with no bits in it. I personally wouldn't want the mess, the faff or the unpredictability of making a DIY version!

*To make Tiger Nut Horchata vegan, simply leave out the raw honey and double the drops of liquid stevia (to 4) for the same level of sweetness.

It’s recommended you don’t discard the tiger nut pulp, instead dry it out in an oven and use as a substitute for desiccated coconut. Alternatively, convert into nutritious Tiger Nut Energy Balls

** I actually prefer to put my refrigerated horchata into a blender with half dozen ice cubes and whizz together for about 10 seconds to break up the ice for a super-cold drink that doesn’t smack you around the mouth with ice cubes every time you take a sip (it was Sarah that insisted I put a single ice cube in the glass for the photographs!) You can also put the horchata into the freezer for about an hour to turn it into a ‘slushy’. Which suggests to me that I should be creating a tiger-nut-milk-based recipe for ice cream, sooner rather than later!

To calculate the carbohydrate content of this recipe I’ve referenced whole tiger nuts, not tiger nut milk. Although carb grams per serving looks relatively high, there is a significant amount of tiger nut sediment that’s discarded after squeezing out the milk. Also, some of the carbohydrate content in raw tiger nuts is in the form of a unique fibre known as resistant starch, which cannot be absorbed by the body in the process of digestion. This means it passes through your system without deleterious effects on blood sugar or insulin levels. Similarly, you don’t obtain significant calories from resistant starch either.

However, resistant starch is a highly beneficial pre-biotic that feeds the friendly bacteria in your gut, which in turn provides numerous health benefits that can ultimately assist in weight loss. Your healthy gut flora actually need this ‘food’ to survive and thrive, Thus, Tiger Nut Horchata is recommended for even the most carb sensitive individual. Even if you are trying to lose weight, it’s more important to focus on eating real, nutritious food than to worry unduly about counting grams of carbohydrate or calories. The message is: ditch all grains, legumes, refined sugar and unhealthy processed seed oils and fats, and your carbohydrate and calorie intake will happily take care of itself!

Caution: Tiger nuts and tiger nut flour have very high amounts of resistant starch which, if you’re not used to, can cause discomfort and bloating when eaten in large amounts. It is therefore advised that you slowly introduce resistant starch into your diet (less than a teaspoon per day) and gradually increase your tolerance to your particular comfort level, which will hopefully be about 15-30 grams a day. 


Carbohydrate 55g Protein 5g - per 250ml serving of Tiger Nut Horchata (without ice)